Ionic Vueクイックスタート
Welcome! This guide will walk you through the basics of Ionic Vue development. You'll learn how to set up your development environment, generate a simple project, explore the project structure, and understand how Ionic components work. This is perfect for getting familiar with Ionic Vue before building your first real app.
Ionic Vue が何であり、Vue エコシステムにどのように適合するかの概要を知りたい場合は、Ionic Vue 概要を参照してください。
Prerequisites
Before you begin, make sure you have Node.js and npm installed on your machine. You can check by running:
node -v
npm -v
Node.js と npm をまだ持っていない場合は、Node.js をダウンロードしてください(npm が含まれています)。
Create a Project with the Ionic CLI
First, install the latest Ionic CLI:
npm install -g @ionic/cli
Then, run the following commands to create and run a new project:
ionic start myApp blank --type vue

cd myApp
ionic serve
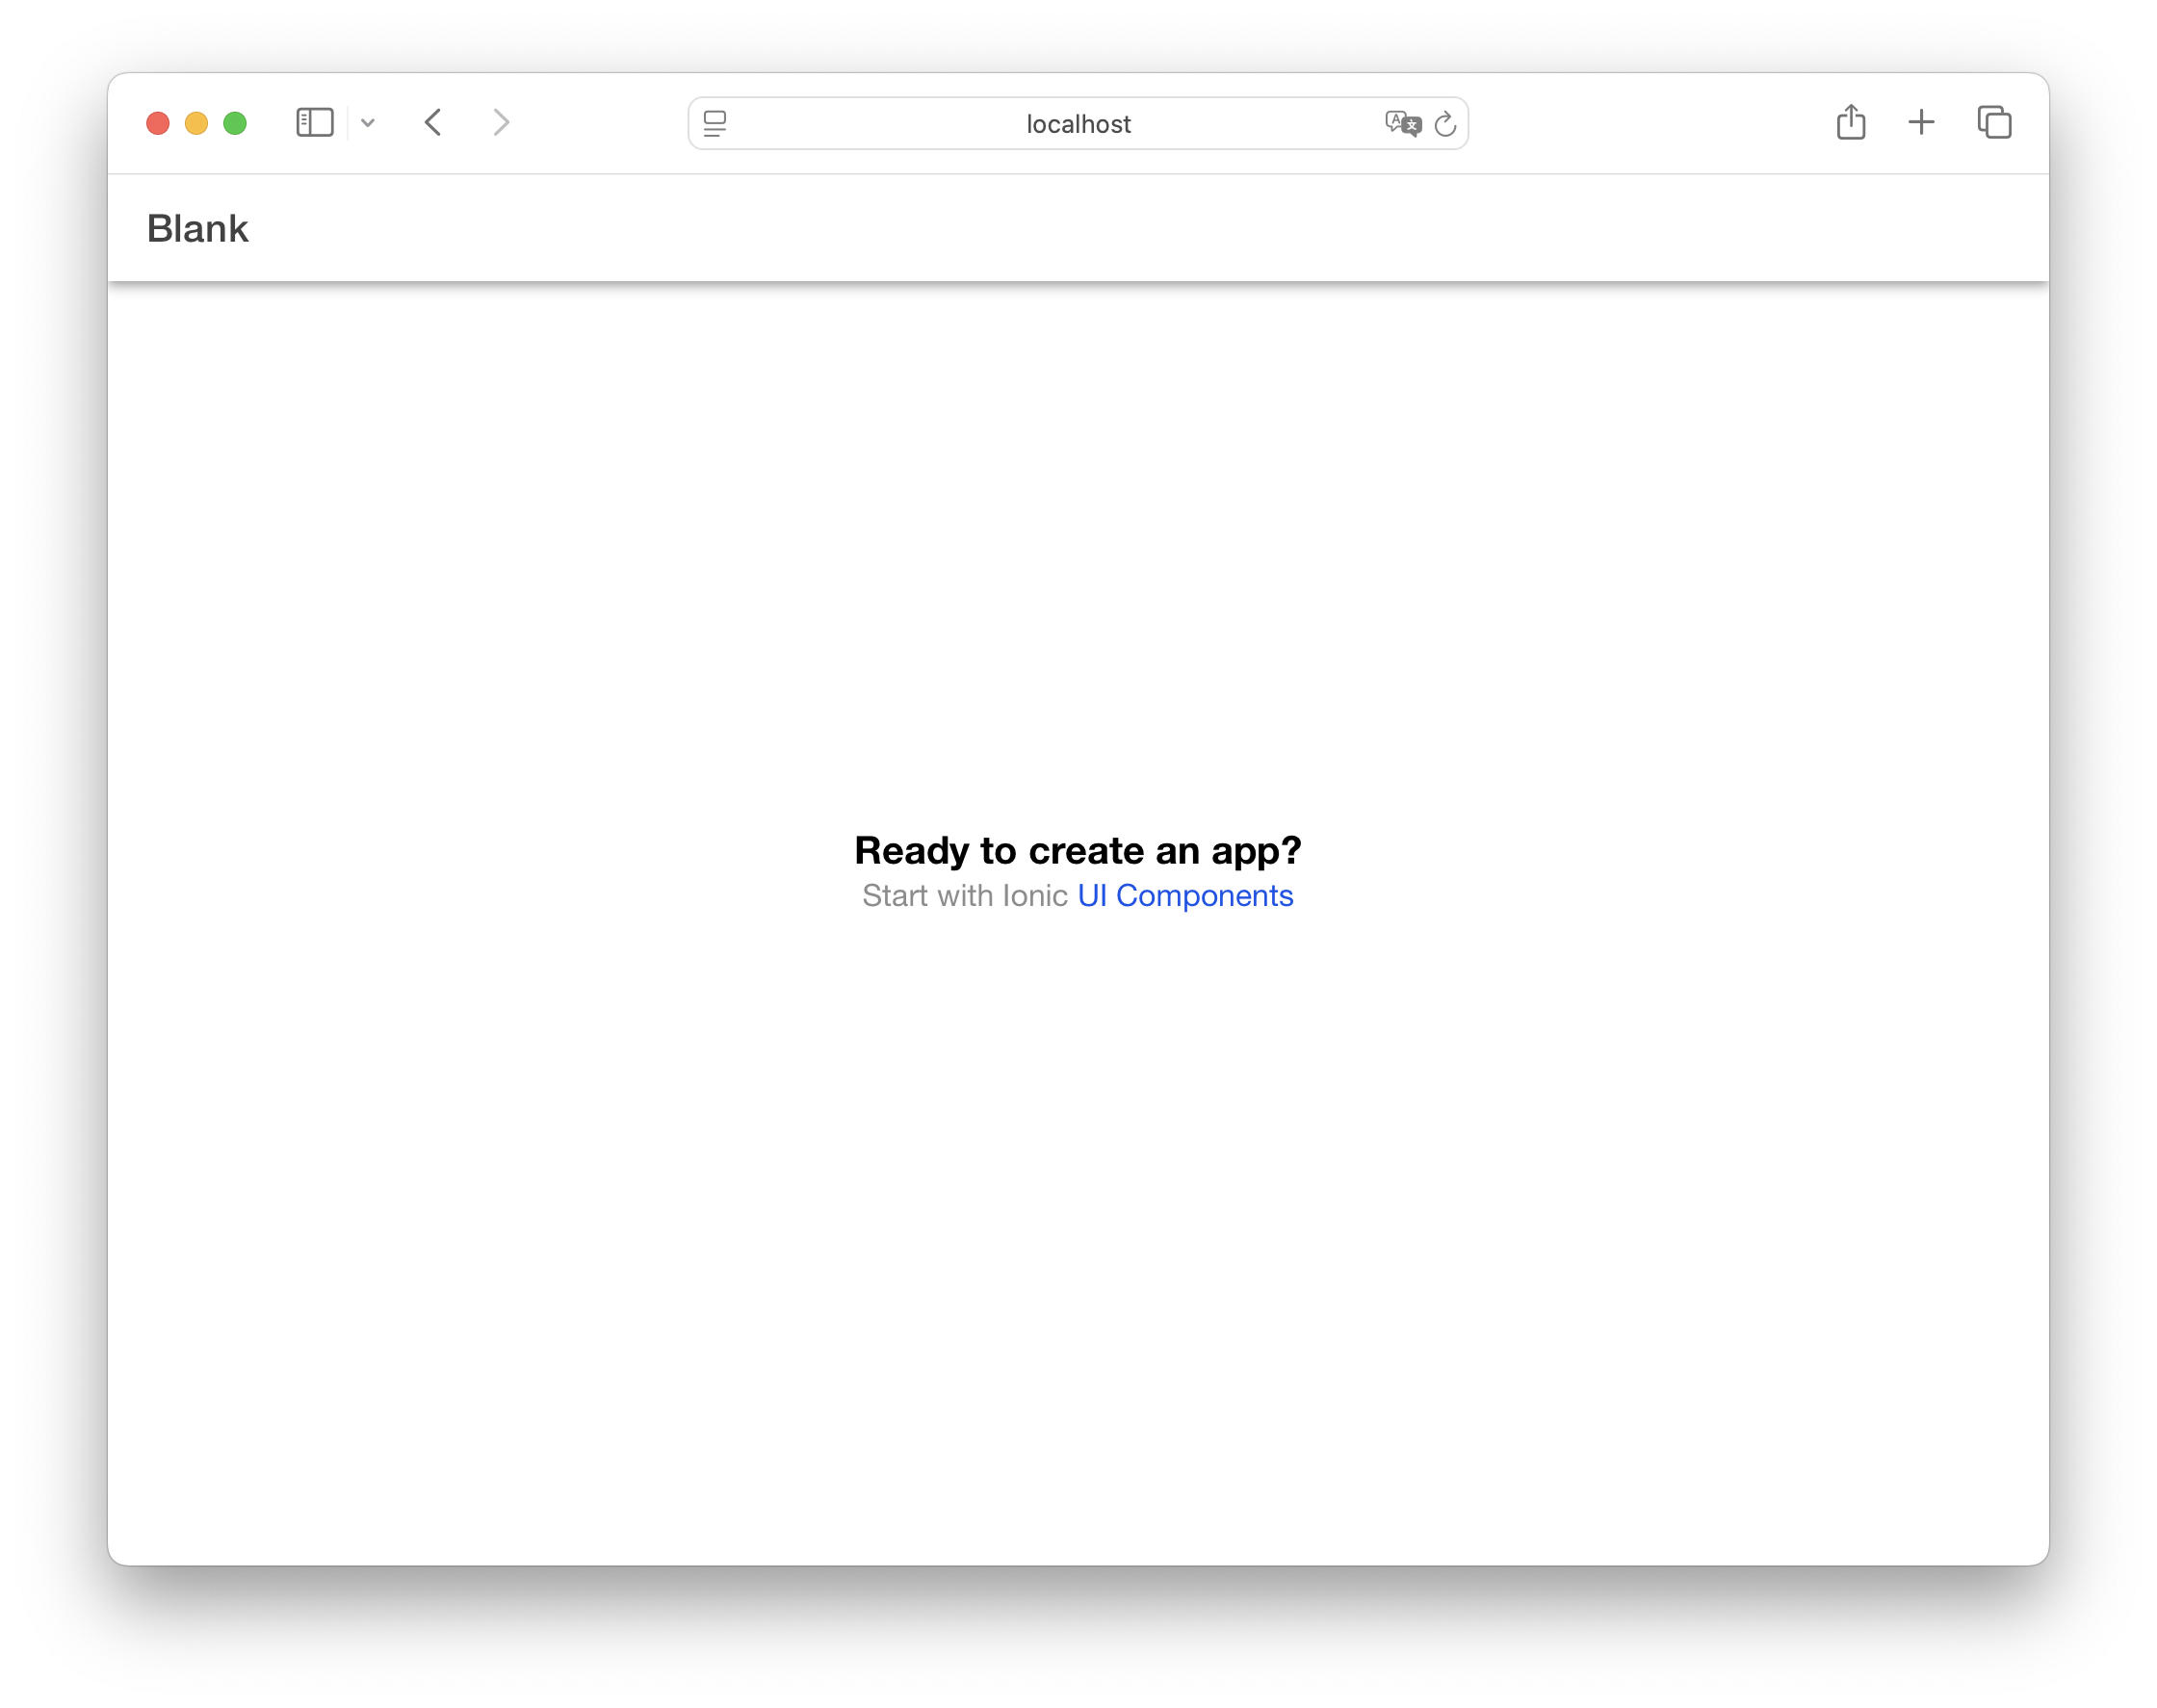
After running ionic serve, your project will open in the browser.
Explore the Project Structure
Your new app's directory will look like this:
└── src/
    ├── App.vue
    ├── main.ts
    ├── router
    │   └── index.ts
    └── views
       └── HomePage.vue
All file paths in the examples below are relative to the project root directory.
Let's walk through these files to understand the app's structure.
View the App Component
The root of your app is defined in App.vue:
<template>
  <ion-app>
    <ion-router-outlet />
  </ion-app>
</template>

<script setup lang="ts">
import { IonApp, IonRouterOutlet } from '@ionic/vue';
</script>
This sets up the root of your application, using Ionic's ion-app and ion-router-outlet components. The router outlet is where your pages will be displayed.
View Routes
Routes are defined in router/index.ts:
import { createRouter, createWebHistory } from '@ionic/vue-router';
import { RouteRecordRaw } from 'vue-router';
import HomePage from '../views/HomePage.vue';

const routes: Array<RouteRecordRaw> = [
  {
    path: '/',
    redirect: '/home',
  },
  {
    path: '/home',
    name: 'Home',
    component: HomePage,
  },
];

const router = createRouter({
  history: createWebHistory(import.meta.env.BASE_URL),
  routes,
});

export default router;
When you visit the root URL (/), the HomePage component will be loaded.
View the Home Page
The Home page component, defined in HomePage.vue, imports the Ionic components and defines the page template:
<template>
  <ion-page>
    <ion-header :translucent="true">
      <ion-toolbar>
        <ion-title>Blank</ion-title>
      </ion-toolbar>
    </ion-header>

    <ion-content :fullscreen="true">
      <ion-header collapse="condense">
        <ion-toolbar>
          <ion-title size="large">Blank</ion-title>
        </ion-toolbar>
      </ion-header>

      <div id="container">
        <strong>Ready to create an app?</strong>
        <p>
          Start with Ionic
          <a target="_blank" rel="noopener noreferrer" href="https://ionicframework.com/docs/components"
            >UI Components</a
          >
        </p>
      </div>
    </ion-content>
  </ion-page>
</template>

<script setup lang="ts">
import { IonContent, IonHeader, IonPage, IonTitle, IonToolbar } from '@ionic/vue';
</script>

<!-- ...styles... -->
これにより、ヘッダーとスクロール可能なコンテンツ領域を持つページが作成されます。2 番目のヘッダーには 折りたたみ可能な大きなタイトル が表示され、iOS デバイスではコンテンツの上部にあるときに表示され、スクロールすると最初のヘッダーに小さいタイトルが表示されるように縮小されます。
Add an Ionic Component
You can enhance your Home page with more Ionic UI components. For example, add a Button at the end of the ion-content:
<ion-content>
  <!-- existing content -->

  <ion-button>Navigate</ion-button>
</ion-content>
Then, import the IonButton component in the <script> tag:
<script setup lang="ts">
import { IonButton, IonContent, IonHeader, IonPage, IonTitle, IonToolbar } from '@ionic/vue';
</script>
Add a New Page
Create a new page at NewPage.vue:
<template>
  <ion-page>
    <ion-header :translucent="true">
      <ion-toolbar>
        <ion-buttons slot="start">
          <ion-back-button default-href="/"></ion-back-button>
        </ion-buttons>
        <ion-title>New</ion-title>
      </ion-toolbar>
    </ion-header>

    <ion-content :fullscreen="true">
      <ion-header collapse="condense">
        <ion-toolbar>
          <ion-title size="large">New</ion-title>
        </ion-toolbar>
      </ion-header>
    </ion-content>
  </ion-page>
</template>

<script setup lang="ts">
import { IonBackButton, IonButtons, IonContent, IonHeader, IonPage, IonTitle, IonToolbar } from '@ionic/vue';
</script>
This creates a page with a Back Button in the Toolbar. The back button will automatically handle navigation back to the previous page, or to / if there is no history.
When creating your own pages, always use ion-page as the root component. This is essential for proper transitions between pages, base CSS styling that Ionic components depend on, and consistent layout behavior across your app.
Navigate to the New Page
To navigate to the new page, create a route for it by first importing it at the top of router/index.ts after the HomePage import:
import NewPage from '../views/NewPage.vue';
Then, add its route in the routes array:
const routes: Array<RouteRecordRaw> = [
  {
    path: '/',
    redirect: '/home',
  },
  {
    path: '/home',
    name: 'Home',
    component: HomePage,
  },
  {
    path: '/new',
    name: 'New',
    component: NewPage,
  },
];
Once that is done, update the button in HomePage.vue:
<ion-button router-link="/new">Navigate</ion-button>
ナビゲーションは、Vue Router を使用してプログラム的に実行することもでき、ルートはパフォーマンス向上のために遅延ロードできます。詳細は Vue ナビゲーションのドキュメント を参照してください。
Add Icons to the New Page
Ionic Vue comes with Ionicons pre-installed. You can use any icon by setting the icon property of the ion-icon component.
Update the imports in NewPage.vue to import IonIcon and the heart and logoIonic icons:
<script setup lang="ts">
import { IonBackButton, IonButtons, IonContent, IonHeader, IonIcon, IonPage, IonTitle, IonToolbar } from '@ionic/vue';
import { heart, logoIonic } from 'ionicons/icons';
</script>
Then, include them inside of the ion-content:
<ion-icon :icon="heart"></ion-icon>
<ion-icon :icon="logoIonic"></ion-icon>
Note that we are passing the imported SVG reference, not the icon name as a string.
詳細は アイコンのドキュメント と Ionicons のドキュメント を参照してください。
Call Component Methods
Let's add a button that can scroll the content area to the bottom.
Update NewPage.vue to include a ref on ion-content and a button and some items after the existing icons:
<ion-content ref="content">
  <ion-button @click="scrollToBottom">Scroll to Bottom</ion-button>

  <!-- Add lots of content to make scrolling possible -->
  <ion-item v-for="i in 50" :key="i">
    <ion-label>Item {{ i }}</ion-label>
  </ion-item>
</ion-content>
In the script section, add the new component imports and define the scrollToBottom function:
<script setup lang="ts">
import {
  IonBackButton,
  IonButtons,
  IonButton,
  IonContent,
  IonHeader,
  IonIcon,
  IonItem,
  IonLabel,
  IonPage,
  IonTitle,
  IonToolbar,
} from '@ionic/vue';
import { heart, logoIonic } from 'ionicons/icons';
import { ref } from 'vue';

const content = ref();

const scrollToBottom = () => {
  content.value.$el.scrollToBottom(300);
};
</script>
To call methods on Ionic components:
- Create a
reffor the component - Access the underlying Web Component via
$el - Call the method on the Web Component
This pattern is necessary because Ionic components are built as Web Components. The $el property gives you access to the actual Web Component instance where the methods are defined.
You can find available methods for each component in the Methods section of their API documentation.
Run on a Device
Ionic's components work everywhere: on iOS, Android, and PWAs. To deploy to mobile, use Capacitor:
ionic build
ionic cap add ios
ionic cap add android
Open the native projects in their IDEs:
ionic cap open ios
ionic cap open android
詳細は Capacitor のはじめにガイド を参照してください。
Build with TypeScript or JavaScript
Ionic Vue projects are created with TypeScript by default, but you can easily convert to JavaScript if you prefer. After generating a blank Ionic Vue app, follow these steps:
- Remove the TypeScript dependencies:
npm uninstall --save typescript @types/jest @typescript-eslint/eslint-plugin @typescript-eslint/parser @vue/cli-plugin-typescript @vue/eslint-config-typescript vue-tsc
-
Change the extension of all
.tsfiles to.js. In a blank Ionic Vue app, this will be thesrc/router/index.ts,src/main.ts, and files in thetestsdirectory. -
In
index.html, change the imported<script>file from/src/main.tsto/src/main.js. -
Remove
@vue/typescript/recommendedand@typescript-eslint/no-explicit-any: 'off'from.eslintrc.js. -
Remove
Array<RouteRecordRaw>and the import ofRouteRecordRawfromsrc/router/index.js. -
Remove
lang="ts"from thescripttags in any of your Vue components that have them. In a blank Ionic Vue app, this should only besrc/App.vueandsrc/views/HomePage.vue. -
Delete
tsconfig.jsonandvite-env.d.ts. -
In package.json, change the build script from
"build": "vue-tsc && vite build"to"build": "vite build". -
Install terser
npm i -D terser.
Explore More
This guide covered the basics of creating an Ionic Vue app, adding navigation, and introducing Capacitor for native builds. To dive deeper, check out:

Build a real Photo Gallery app with Ionic Vue and native device features.

Learn more about Vue's core concepts, tools, and best practices from the official Vue documentation.

Discover how to handle routing and navigation in Ionic Vue apps using the Vue Router.

Explore Ionic's rich library of UI components for building beautiful apps.

Learn how to customize the look and feel of your app with Ionic's powerful theming system.

Explore how to access native device features and deploy your app to iOS, Android, and the web with Capacitor.